How to Build a Beautiful Concrete Water Feature for your Summer DIY Project
May 30, 2023
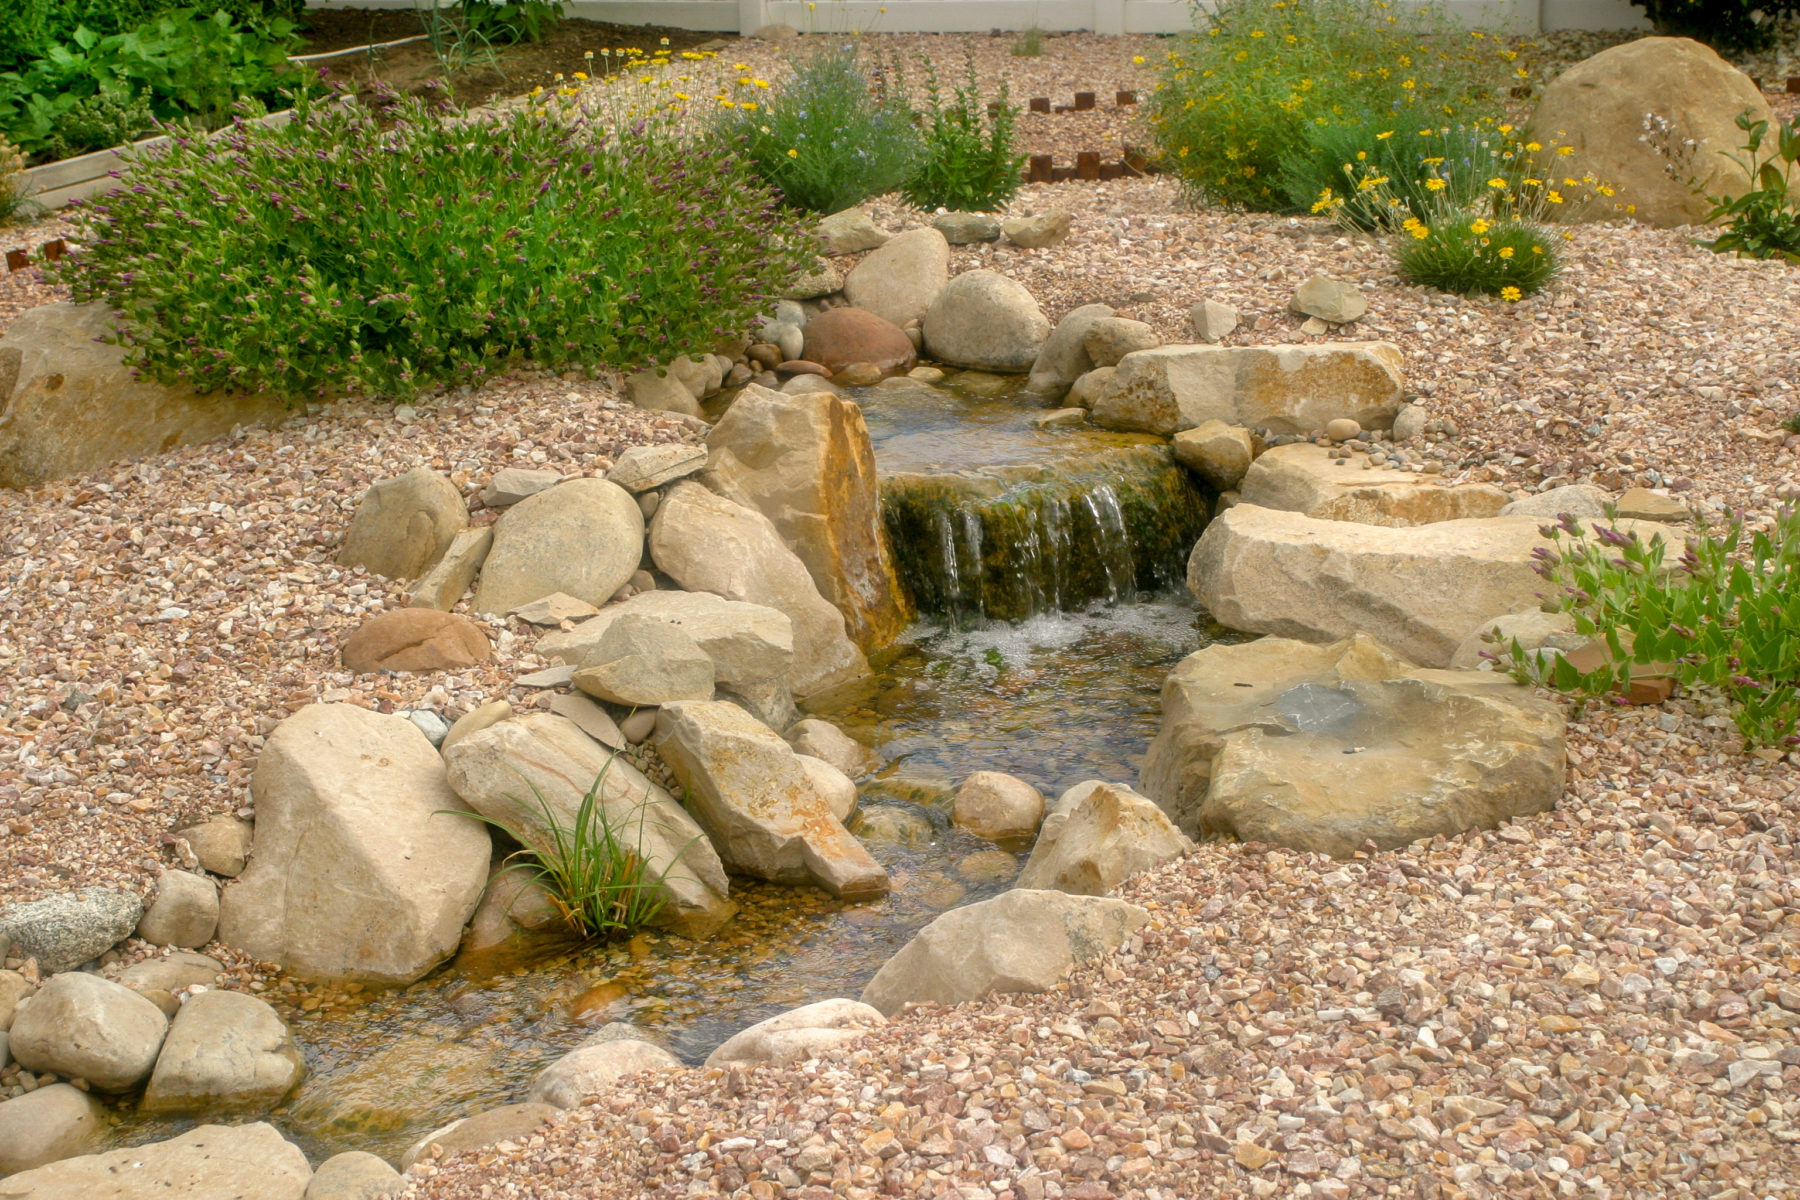
As the warmth of summer sets in, many of us find our thoughts drifting towards do-it-yourself (DIY) projects that can give our outdoor living spaces an aesthetic upgrade. One such project is the installation of a concrete water feature—a decorative element that combines the rugged charm of concrete with the soothing ambiance of flowing water. In this blog post, we’ll explore a simple yet elegant DIY plan for creating a beautiful concrete water feature for your garden or patio.
Preparations
The initial step in this project involves gathering all the necessary materials. You’ll need quick-setting concrete, a large plastic container for your mold, a smaller container to create an inner cavity, a water pump, flexible tubing, decorative pebbles, waterproof sealant, and construction tools such as a trowel, gloves, sandpaper, and safety goggles. It’s crucial to ensure your pump and tubing are fit for outdoor use and can withstand weather fluctuations.
Building the Basin
The first stage of construction involves creating your concrete basin. To do this, mix your quick-setting concrete as per the instructions on the bag. Then, pour the mixture into the large plastic container. Push the smaller container into the center of this mixture to create an inner cavity. Keep in mind that the outer walls should be about 2-3 inches thick for optimum stability.
Let the concrete set, typically around 24-48 hours. After it’s fully cured, remove the inner and outer molds. You’ll have the main shell of your water feature, but it’s not yet ready for use. Using sandpaper, smooth out the edges and any irregularities. Next, apply a layer of waterproof sealant on the interior to ensure longevity and prevent water seepage.
Installing the Pump and Tubing
The heart of your water feature is the pump—it creates that delightful flow of water that brings the piece to life. Place the pump at the bottom of the basin, ensuring it’s properly leveled. Attach your flexible tubing, and run it from the pump up to the top edge of the basin. The length of your tubing will determine how high your water will flow, so adjust accordingly. Secure the tubing using construction adhesive, ensuring it stays in place even when the water is flowing.
Adding Finishing Touches
With the core structure of your water feature complete, it’s time to add the final touches. Fill the basin with decorative pebbles, ensuring they cover the pump and the base of the tubing. These not only enhance the overall aesthetics but also help to distribute the water evenly for a serene trickle effect.
Connect your pump to a power source, then fill the basin with water until the pump is fully submerged. Turn on the pump and watch as your DIY water feature springs to life!
Building a concrete water feature for your summer DIY project can be a rewarding venture, requiring minimal materials and offering maximum satisfaction. Not only will it add a touch of elegance to your outdoor living space, but the calming sound of running water will also create a tranquil environment ideal for relaxation or entertaining guests.
As with all DIY projects, patience, creativity, and a touch of hard work are key. So, roll up your sleeves and transform your garden or patio into a serene oasis with a bespoke concrete water feature this summer. From us at HK Contractors, here’s to a successful project!


