How to Build an Outdoor Fireplace with Ready-Mix Concrete
September 1, 2025
An outdoor fireplace brings both beauty and function to a backyard, creating a space for gatherings that extends through every season. Beyond being a design element, it becomes a lasting centerpiece when built with the right materials. Ready-mix concrete provides the strength, consistency, and durability required to make the project successful from the first step to the last.
Preparing the Site
Before pouring any concrete, choose a location with level ground, safe clearance from trees, and proper airflow for smoke. Mark the footprint of the fireplace with stakes and string. The size will vary depending on the design, but most outdoor fireplaces require at least a 3-foot by 4-foot slab foundation. Excavate the area to about 6 inches deep and compact the soil. Adding a gravel base before the pour helps with drainage and ensures long-term stability.
Pouring the Concrete Foundation
The foundation is the structural core of the fireplace, and ready-mix concrete makes this stage efficient. With its precise proportions, it eliminates the inconsistencies of hand-mixing. Once delivered, pour the ready-mix into the excavated area, filling to ground level. Use a screed board to smooth the surface, then float and trowel for a uniform finish. Allow the slab to cure fully before adding to the structure. This ensures the base can support the fireplace without shifting.
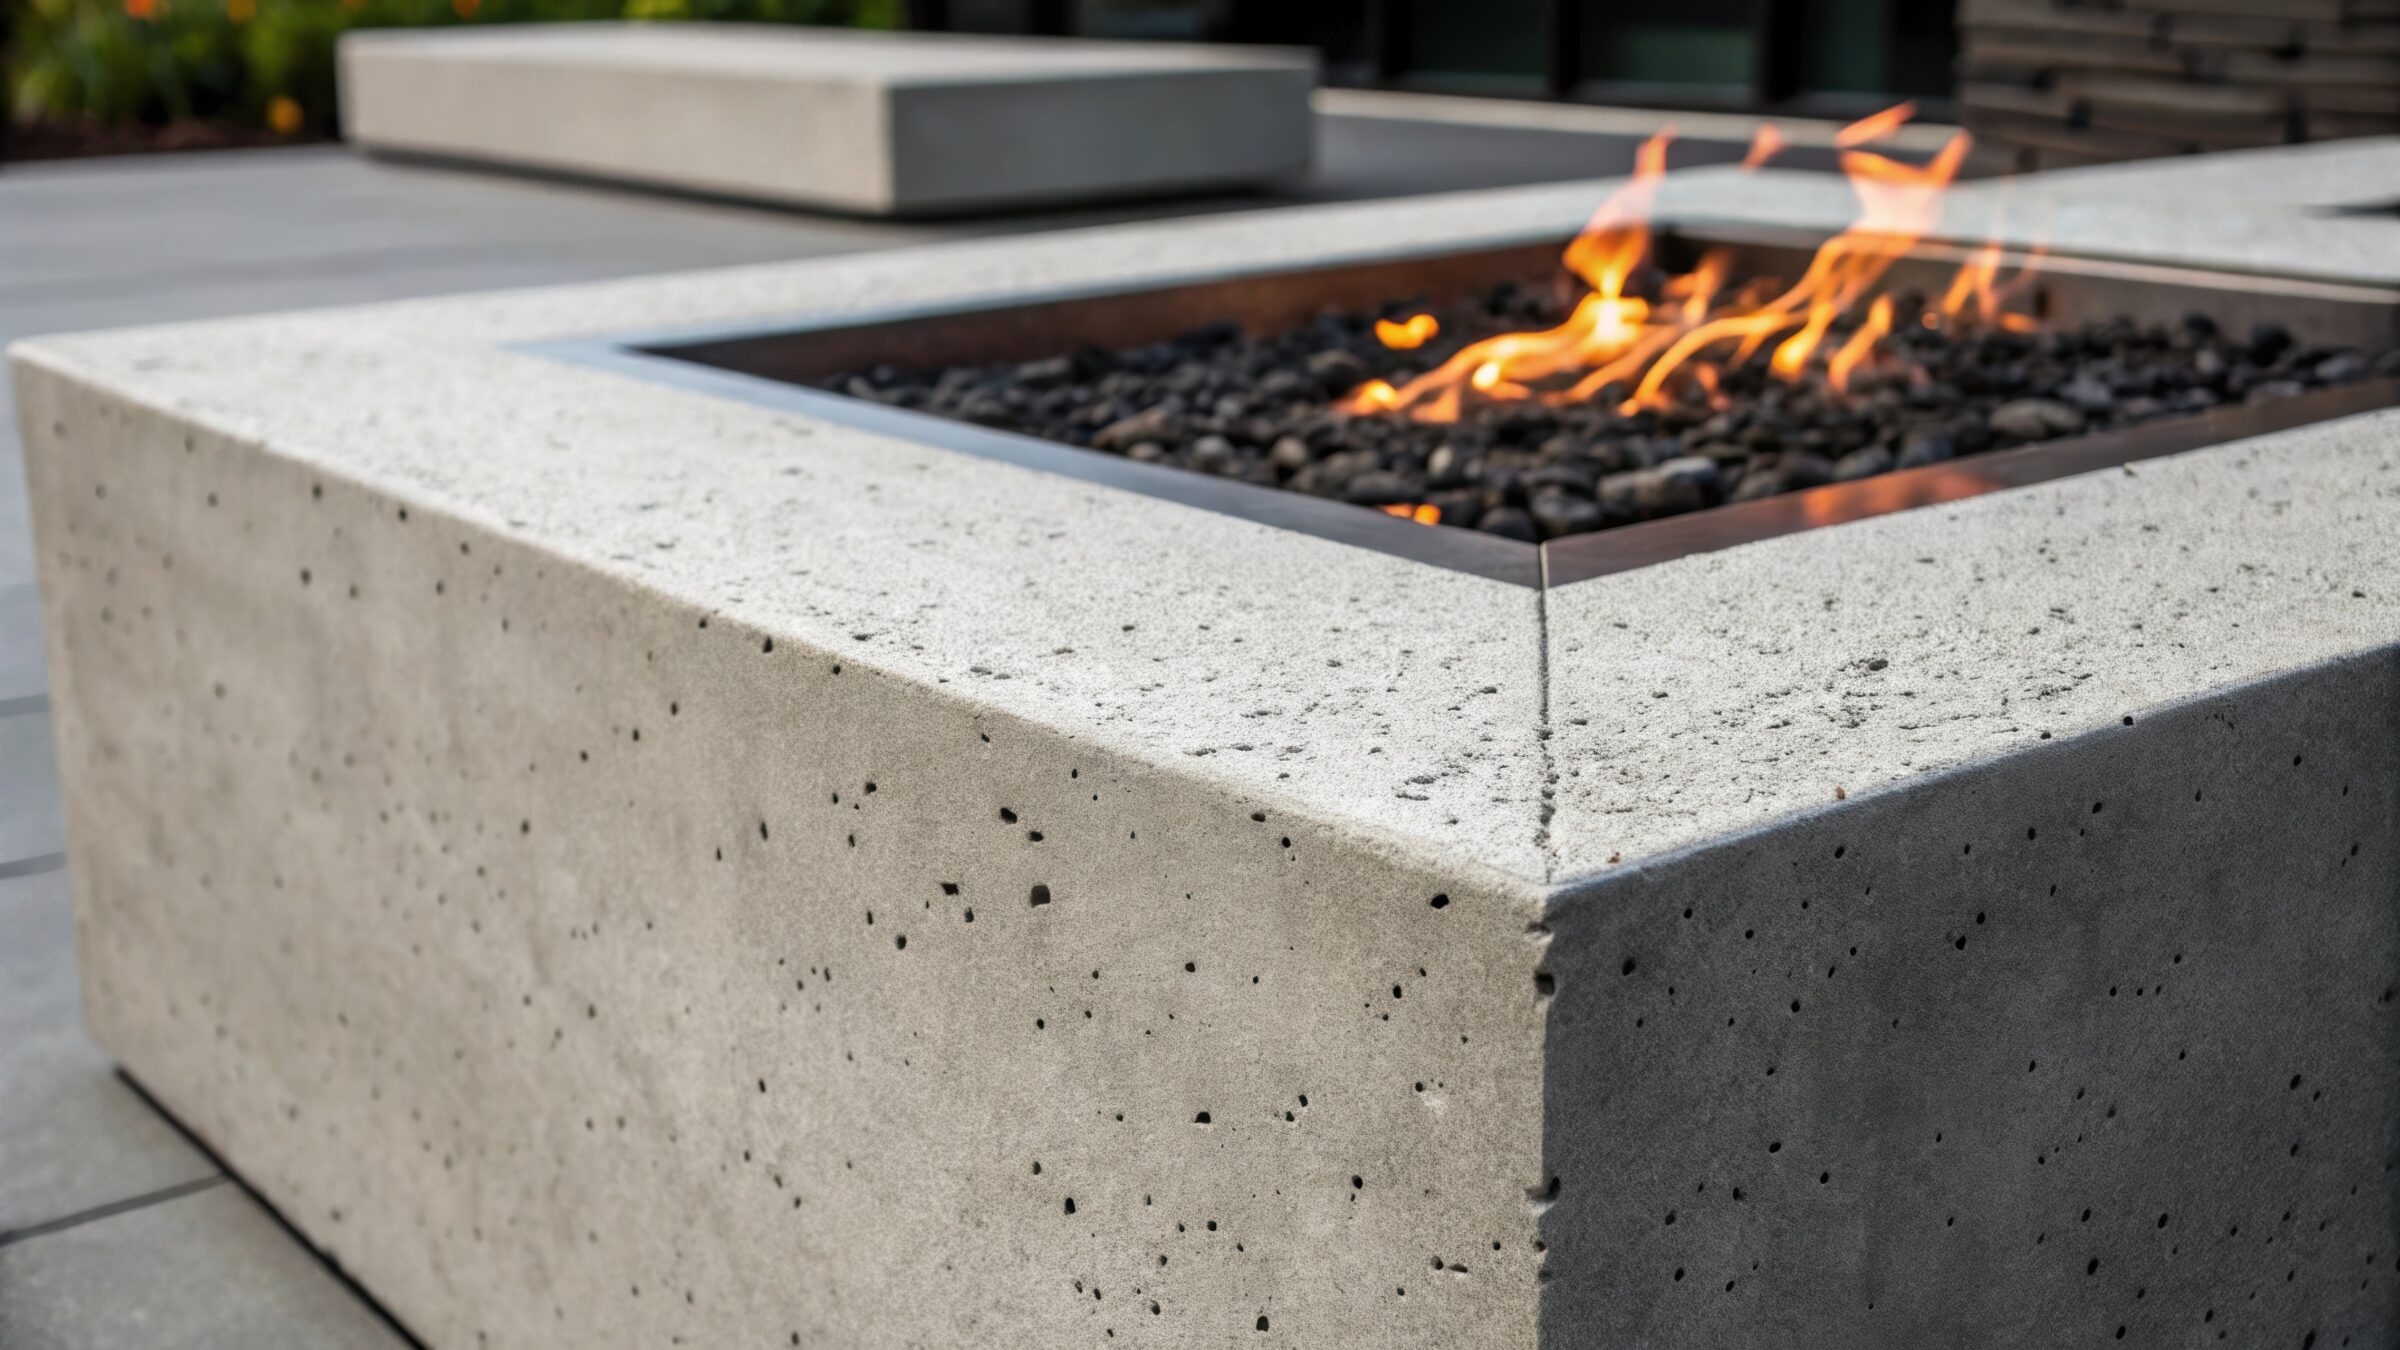
Building the Firebox
The firebox is where the fire will be contained, so it must be built to withstand high heat. Begin laying fire-rated concrete blocks in the shape of a rectangle or square, using ready-mix concrete as mortar to secure each block. Stagger the joints for added stability and check alignment frequently. Once the walls reach the desired height, typically about two feet, install firebrick inside the firebox with a thin layer of ready-mix behind them. This creates an extra layer of heat resistance and ensures a longer service life for the fireplace.
Constructing the Chimney
Directly above the firebox, the chimney channels smoke upward and away from the seating area. Stack additional concrete blocks to form the chimney, again bonding each layer with ready-mix concrete. Use a level to keep the chimney straight as it rises. Depending on the design, the chimney may taper or remain uniform in width. A concrete chimney cap can be poured at the top to help prevent moisture from entering the flue while maintaining structural integrity.
Adding Finishing Elements
With the main structure complete, the fireplace is ready for finishing. Decorative veneers such as natural stone, brick, or textured concrete overlays can be applied to the exterior for a polished look. Ready-mix concrete provides the bonding layer for these materials, ensuring they remain secure through seasonal changes. The hearth can also be finished with poured concrete for a smooth, modern appearance or faced with stone for a traditional design.
Allowing for Curing and Use
Concrete reaches its full strength as it cures, so allow adequate time before using the fireplace. A minimum of seven days is recommended before starting small fires, giving the structure the stability to handle heat safely. Over time, the ready-mix foundation and mortar continue to harden, providing enduring strength for decades of use.
By combining careful planning with the performance of ready-mix concrete, an outdoor fireplace can be built with both beauty and resilience. Each stage, from foundation to finish, is aided by the consistency and reliability that ready-mix delivers. The result is not only a functional addition to an outdoor living space but also a lasting investment in comfort and style.